Tuesday, September 4, 2012

Party in the Safari

Pin It!

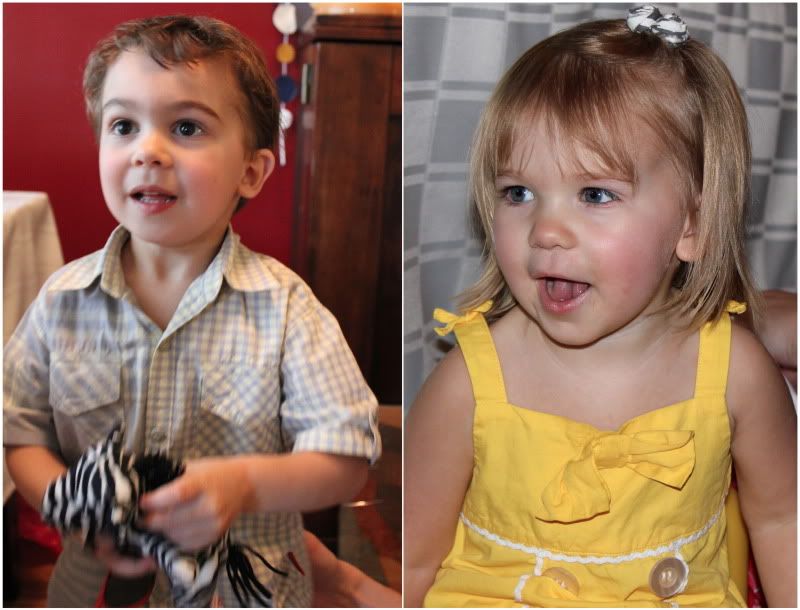
Our kids' birthdays are one month apart and turned 2 and 4 this year. Since they're so close in age, and young, and have all the same friends, we did a combined party for them. They chose a zebra theme (they're obsessed with the movie Racing Stripes and all things zebra). The color palate for the party was a muted black, bright yellow, and white.

Photobucket
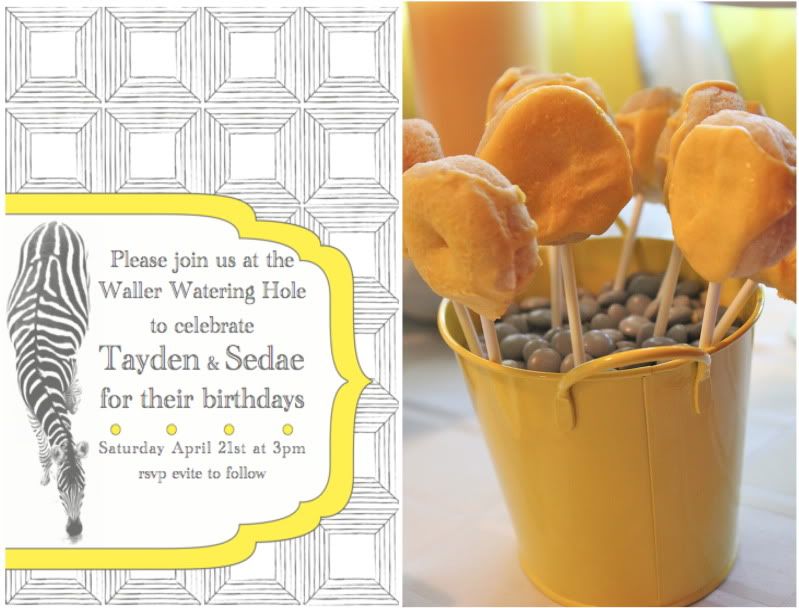
{Invites made by me, babycakes gluten free mini donuts.}

Photobucket
Photobucket
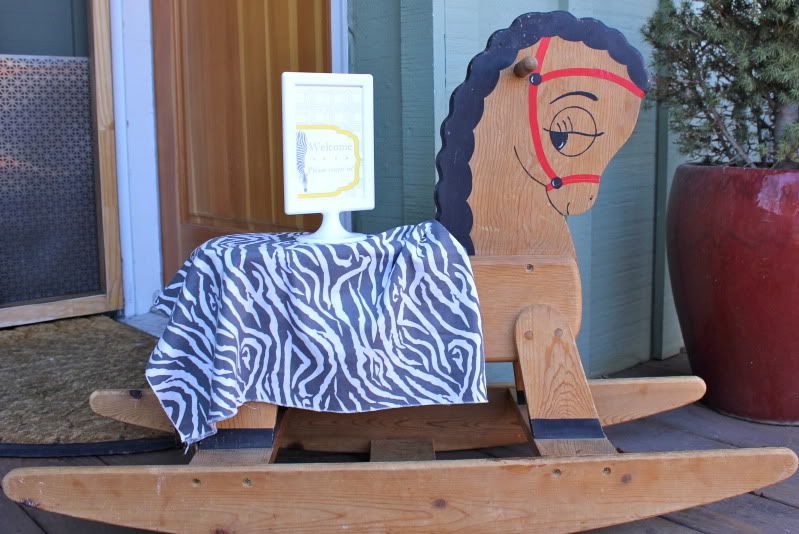
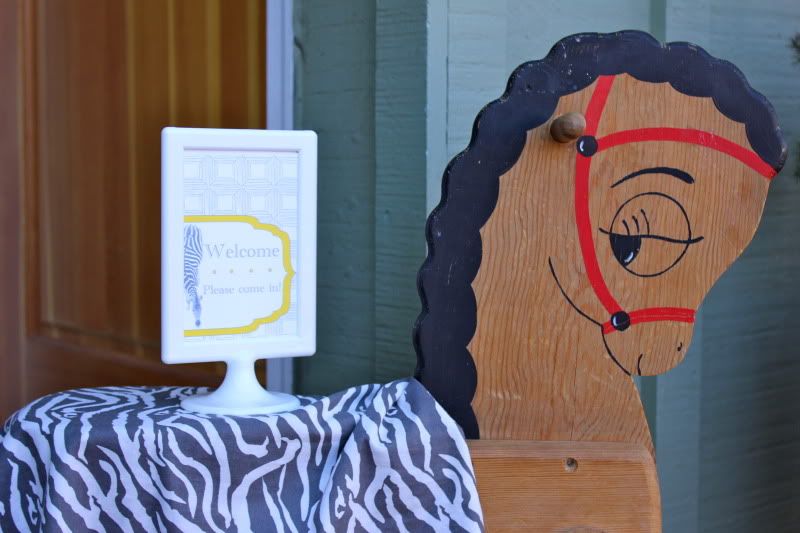
{The welcome sign made use of our vintage horse rocker, wearing a zebra coat of course.}

Photobucket
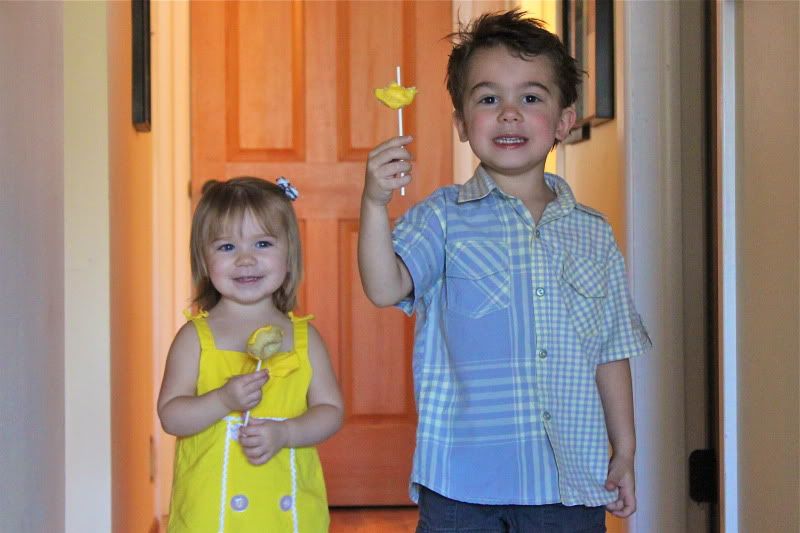
{The birthday babes enjoying a donut pop before the party.}

Photobucket 
{I used yellow streamers along with white streamers dipped in black food coloring to give a striped effect.
This served as the backdrop for the food table.}
{For the drinks station backdrop, I simply covered two large pieces of cardboard
with fabric, and hung assorted sized felt dots onto ribbon to hang over.}

Photobucket
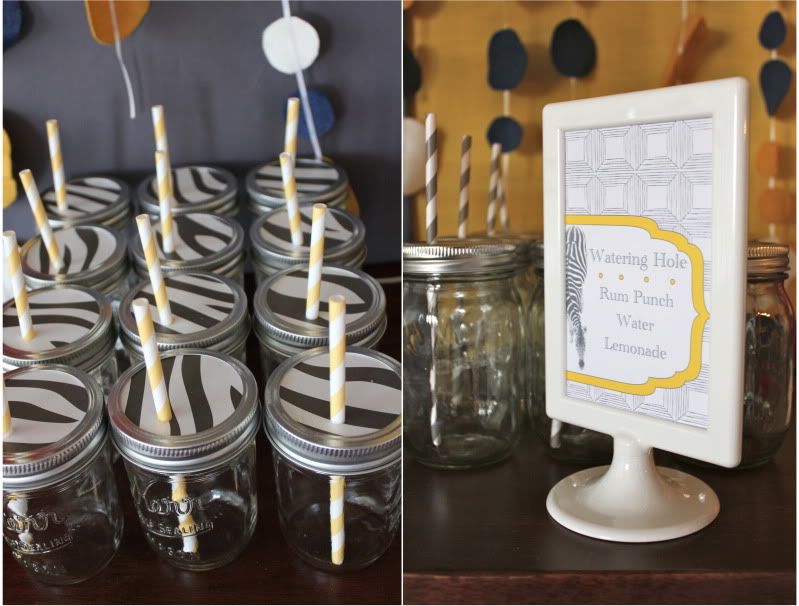
{Mason jars were used drink cups. There was a larger size for the adults and a smaller size for the kiddos.
I used coordinating paper as a lid, then punched a hole in it to fit a paper straw.}

Photobucket
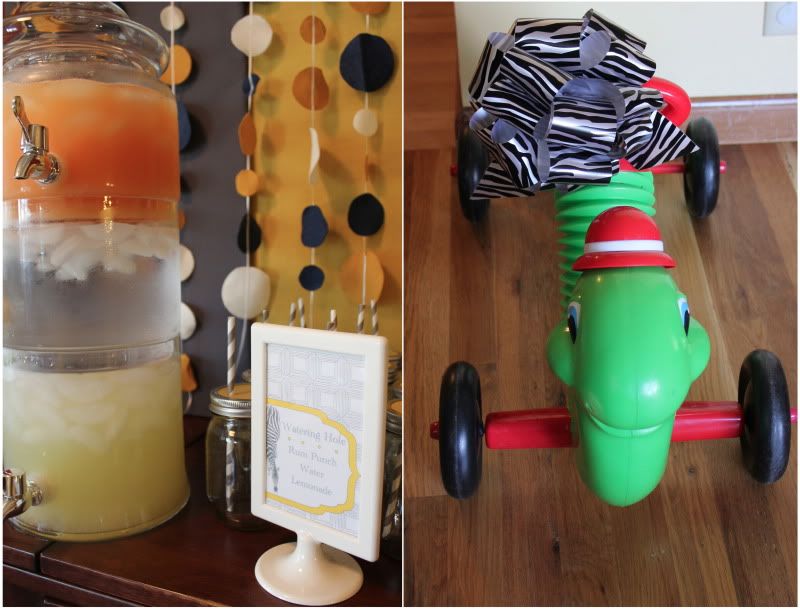
{Rum punch, water, and lemonade.}

Photobucket
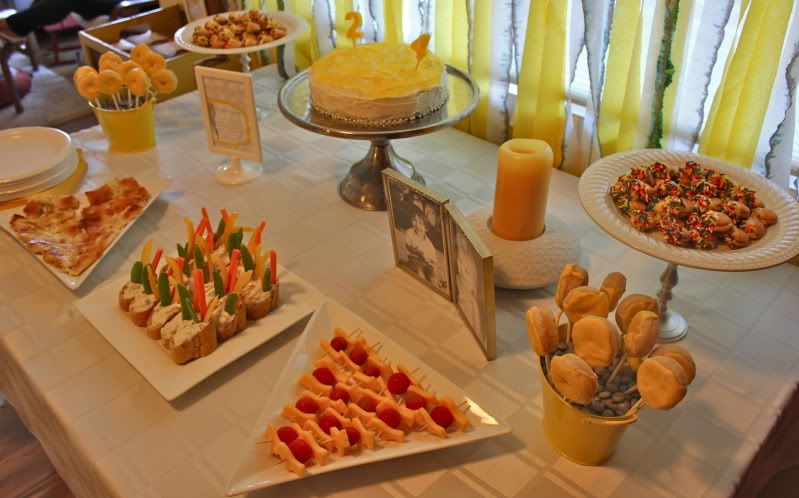
{It was a late afternoon party so we served finger foods as well as treats.}

Photobucket
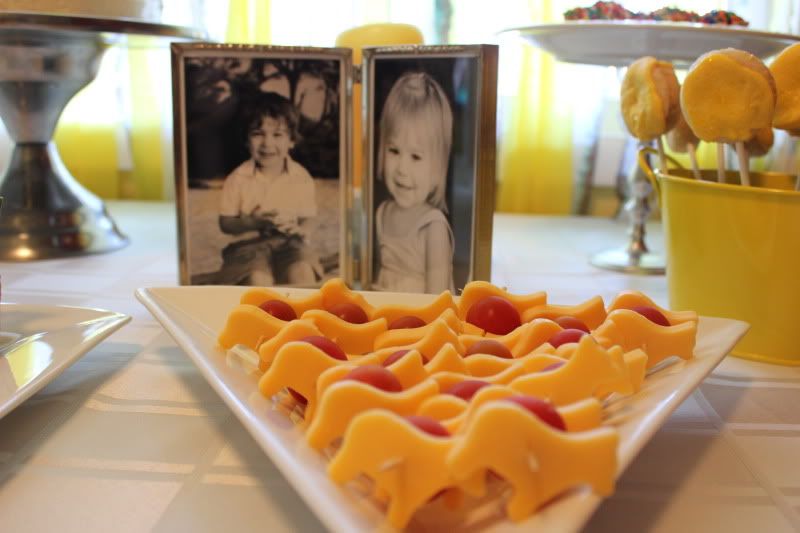
{Zebra cheddar cheese cutouts speared with cherry tomatoes on bamboo toothpicks.}

Photobucket
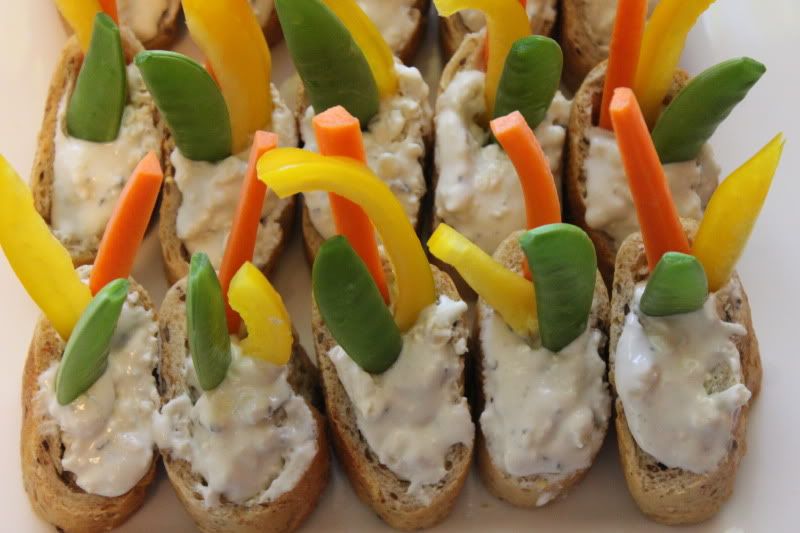
{Baugette cups with smoked blue cheese dip and assorted veggies.}

Photobucket
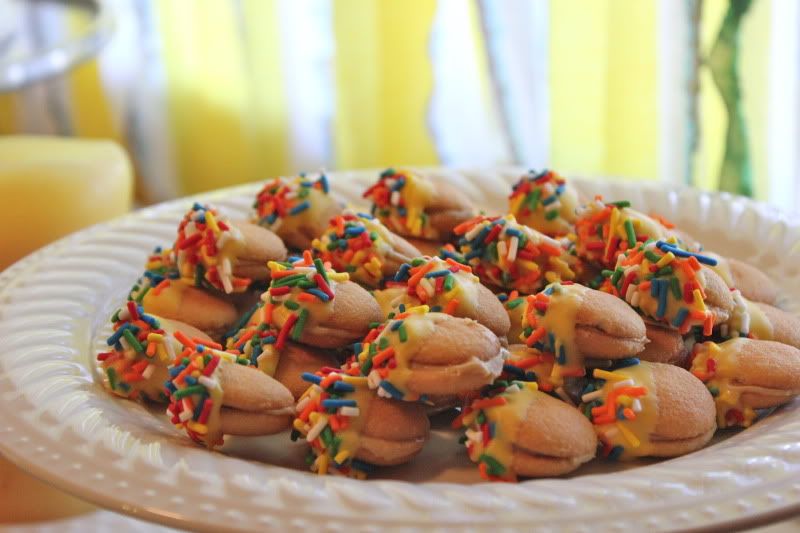
{Peanut butter filled mini Nilla wafers, dipped in candy melts an sprinkles.}

Photobucket

Photobucket

Photobucket
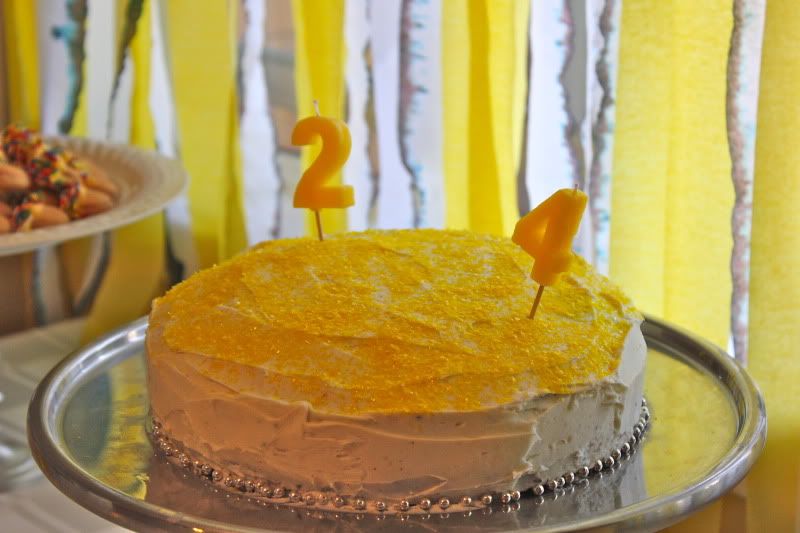
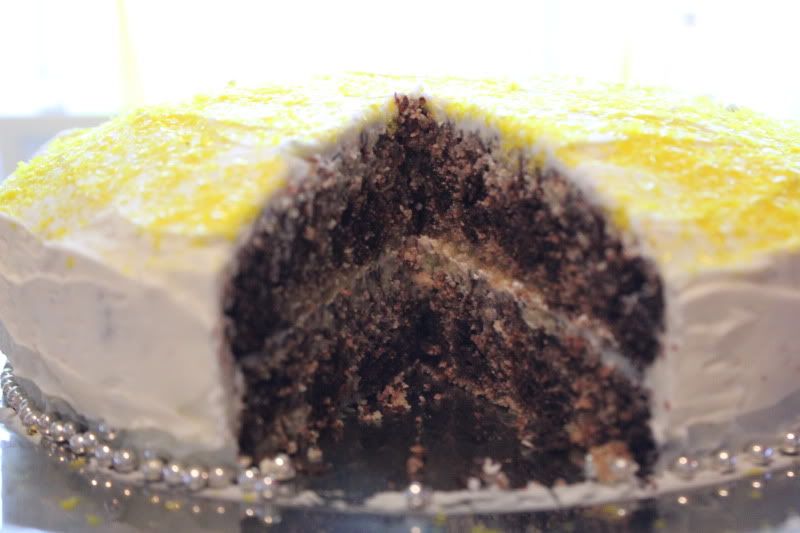
{The cake was supposed to look like this on the inside. I'm really no good at cakes.}

Photobucket
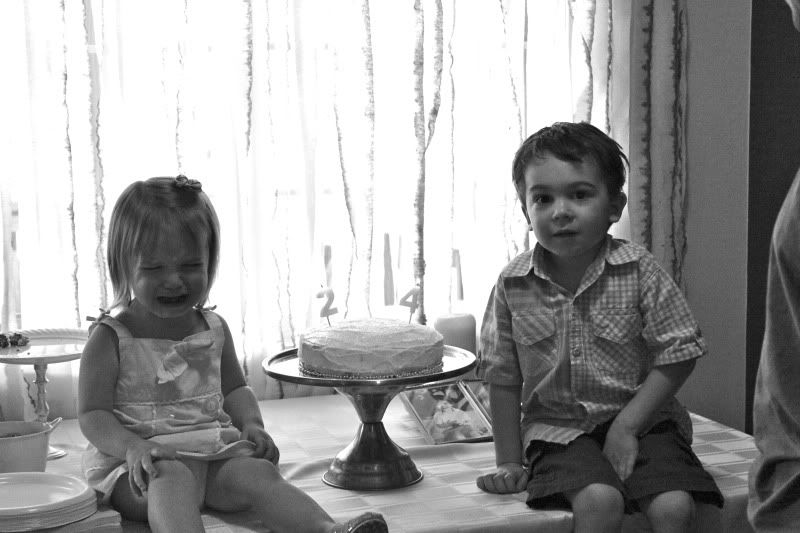
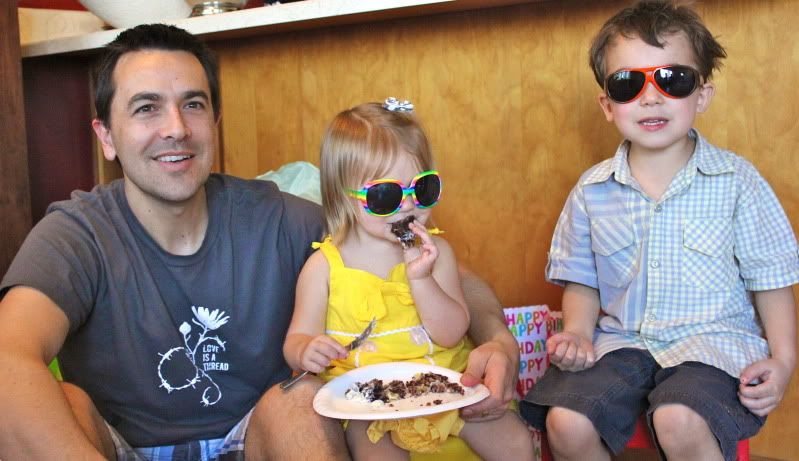
{This was the "I don't want a bunch of people singing to me" meltdown.}

Photobucket

Photobucket

Photobucket
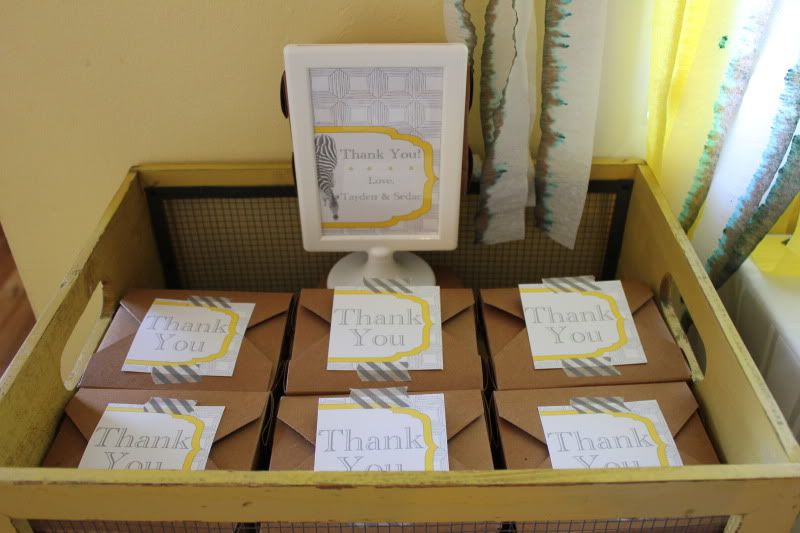
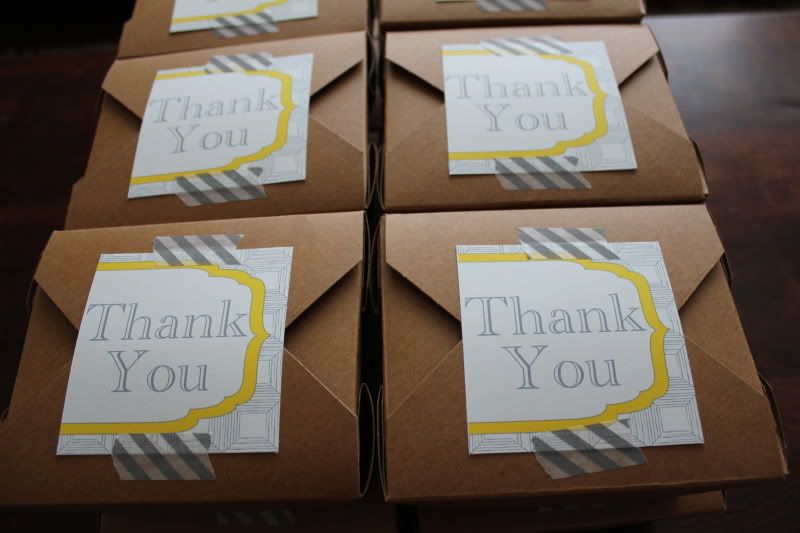
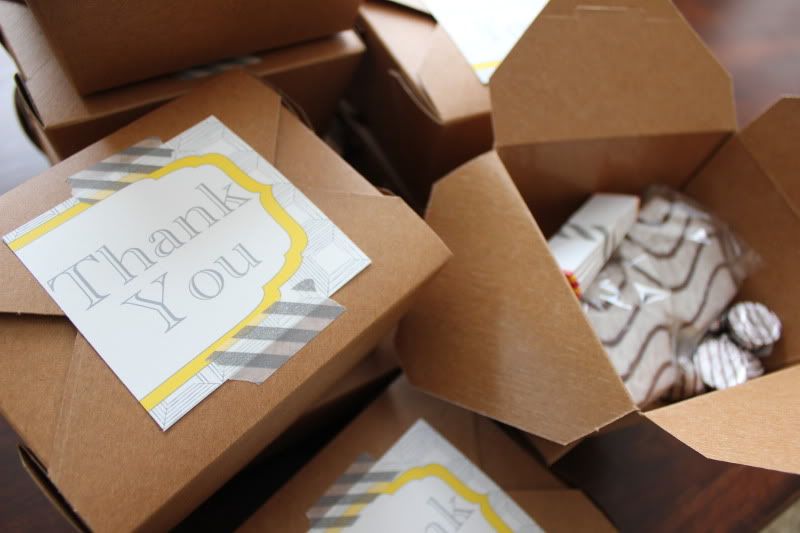
{The favor boxes contained Little Debbie Zebra Cakes, Hershey Kisses Hugs, and Fruit Stripe Gum. I'm sure the parents loved us ;)}

Photobucket
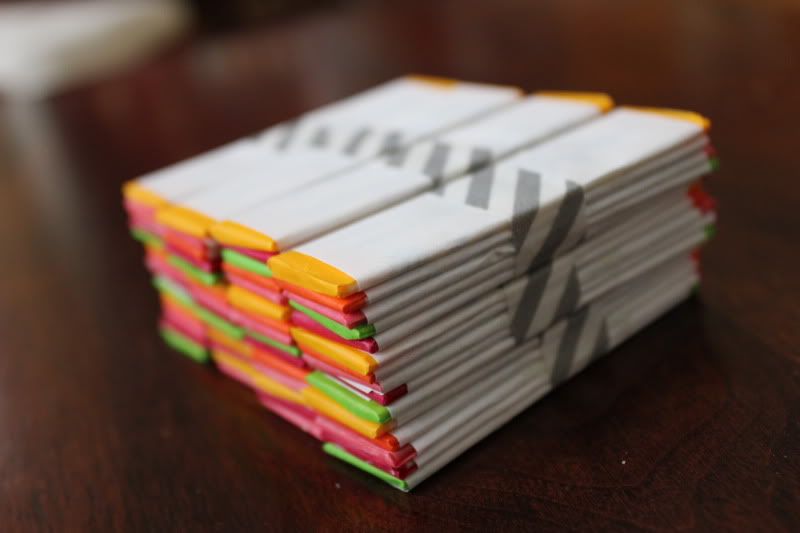
{I wrapped a color of each flavor gum into washi taped packs of five.}

Photobucket
{I totally forgot they came with temporary tattoos. I loved those as a kid!}

Photobucket
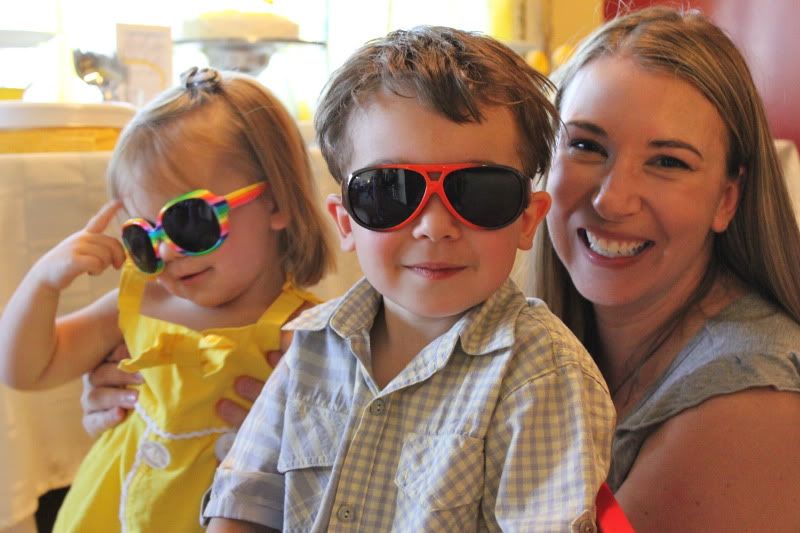
{Their favorite present was new sunglasses.}

Photobucket
It was a happy birthday. Thanks to our family and friends who helped make it so.

Tuesday, July 3, 2012

Treasure Bags

Pin It!

Photobucket

We're headed to the beach again this week so it was time to dig out the bags I made for the kids when we went to Hawaii in January. I also thought it would be a fitting time to share them with all of you, it being summer and all.

Super basic sewing skills needed here. Trust me, if I can do it, you can too. I {mostly} followed the terrific directions over at Come Together Kids to pull the bags together.

Photobucket

The kids carried the bags around our whole vacation, each day filling it up with new treasures they thought were fun. We'd dump them out that night, ready to go again the next day. Seashells, rocks, sticks, seaweed, you name it, it was in that bag.

I loved them because I wasn't stuck trying to figure out a place to hold their treasures, when my hands were full of bags, chairs, umbrellas, fussy babies...you know how beach trips can go.

At the end of our vacation we consolidated the treasures in to a manageable amount to travel home with and have been using them in our ocean unit we're doing at home. They are also in jars serving as decorations and reminders of our vacation.

Photobucket

Here's to treasure hunting whether at the beach or in your own backyard.

Friday, June 29, 2012

Building Block Puzzles

Pin It!

Photobucket

You know those blocks you have that you wish your kids would play more with, but end up just collecting dust? We have a few of those sets at our house but feel they are so important to have around to develop creative and imaginative play.

Sometimes all a toy needs is a new set of clothes. You know, dress them up a different way in order to get the imagination flowing.

This simple-to-set-up puzzle delivers this.

Photobucket

Start with some tape. We used the Kid Made Modern for Target tape but you could also use painters or washi tape.

Photobucket

Create shapes on your floor, table or even large piece of paper, using the tape. We made a square, triangle and an octagon.

Photobucket

The point of the activity is to use your blocks to fill the shapes.

Photobucket

Tayden (four years old) started out being very precise, making sure there were no gaps to be seen between the blocks (no surprise).

Photobucket

But he soon ran out of triangle pieces to fill those gaps so it was a good lesson in allowing things to not be "perfect". He filled the rest of the shapes as best as he could using the blocks we had.

Photobucket

Some other toys even made it in to the shapes, as well as placing the blocks upright to add dimension. Thinking outside the blocks ;)

Photobucket

Sedae (two years old) wasn't much in to trying to do the puzzle but had a blast using the round ones to create towers and knocking them down.

Photobucket

However you use them, I bet this activity will get the gears turning in your house to use the materials and toys you have to create new ways to play!

Photobucket

Photobucket

Monday, April 2, 2012

Menu Monday, Easy Easter Menu

Pin It!

This simple meal will make you feel full and satisfied without weighing you down, so you will still have plenty of energy to hunt for eggs with the family.

The dessert is an easy way to keep you out of the kitchen and use up the lingering marshmallow chicks flooded in Easter baskets. Get the kids to help make them too, that's half the fun!

Bon appétit!

Photobucket
{tilapia with prosciutto and sage, smashed potatoes with créme fraîche, asparagus and green bean fries, s'meeps}

Tuesday, March 20, 2012

Kids Play Kitchen from Re-Purposed Entertainment Center

Pin It!

Here is a kick ass, cheap little project for your duplicating pleasure.

Photobucket

Wondering how to do it?

Photobucket

Here's how it all went down.
We grabbed the entertainment center at our local Habitat for Humanity Re-Store for $10. Rich cut about 6 inches from the top so the kids would be able to reach the top shelf. He then primered it and painted it white.

Photobucket

The next step was the "countertop". We used a metal bowl we had for the sink and had picked up a kitchen faucet, knob and towel hooks at the Re-Store for less than $5.

Photobucket

Rich glued and caulked those babies in and are very sturdy. The knob still turns so they can pretend to turn on water, too.

Photobucket

I then painted 2 simple black circles to mimic a stove top and super glued a cute framed picture to the side.

Photobucket

Rich cut and routed the edges of a scrap piece of wood to make a fridge door, and attached that with invisible hinges.

Photobucket

We picked up a sheet of metal, sprayed it with chalkboard spray paint, and screwed that onto the fridge door. We used sheet metal because I wanted it to also be magnetic.

Photobucket

The drawer pull chalk/alphabet letter holder works perfect to keep those little parts organized.
The handles from the original entertainment center were taken off and holes filled in. We then used some handles we had and put them on top of the two lower doors so it would give a look of a dishwasher and oven.

Photobucket
Photobucket

The middle section is perfect for storing the plates, cups and utensils, with the bottom shelf displaying the appliances.

Photobucket
Photobucket

Most of the accessories I thrifted, to give it a more homey feel.

Photobucket

Overall, the project took a weekend to complete and came together, play food and appliances not included, for under $25!

However, if you choose to undergo this project, be aware that this is how it looks like most of the time:

Photobucket

You have been warned. :)